Mathilda Mittens
von Korken.zieher
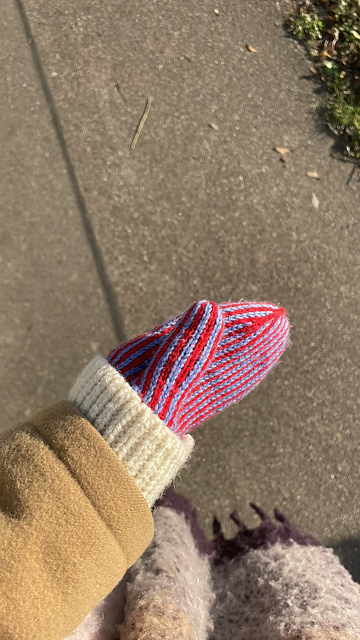 Foto 1 wird geladenFoto 1 wird geladenFoto 1 wird geladen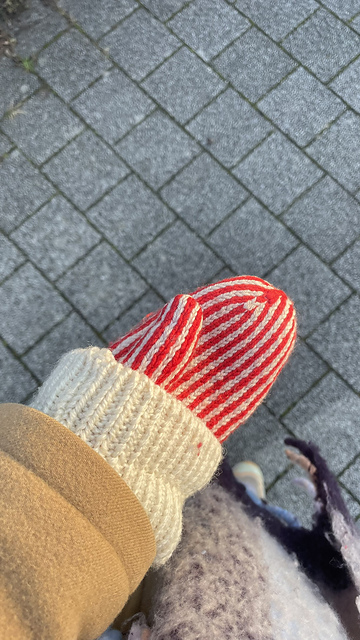
1 / 2
Foto 1 wird geladenFoto 1 wird geladen
Beschreibung
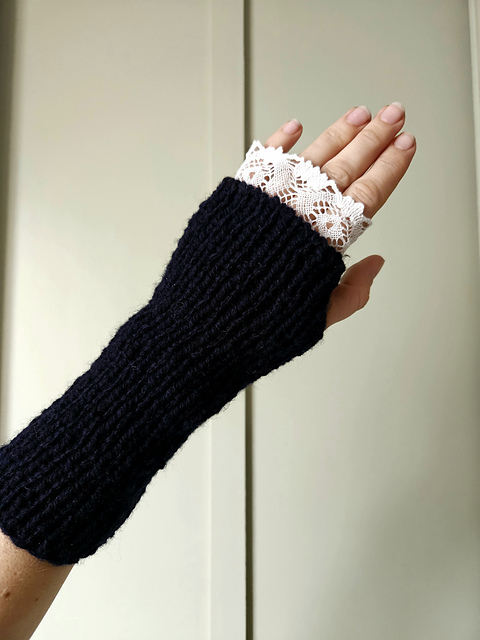
English Version below Es wird zu Beginn eine Wollfarbe als Farbe A und eine als Farbe B festgelegt. Die Handschuhe werden flach gestrickt, entweder auf einer Rundstricknadel oder mit zwei Stricknadeln. Begonnen wird unten am Handgelenk. Zunächst erfolgen Zunahmen für den Übergang vom Handgelenk zur Hand, anschließend weitere Zunahmen für den Daumen. Danach wird das Strickstück für den Daumen geteilt. Der Daumen wird fertig gestrickt und anschließend zusammengenäht. Danach werden die restlichen Bereiche bis zur Fingerkuppe gestrickt und an der Spitze abgenommen. Zum Schluss wird der Handschuh von oben nach unten zusammengenäht. Die Anleitung wird zweimal gearbeitet, um linken und rechten Handschuh zu stricken.Beim ersten Anziehen können sich die Handschuhe zunächst etwas eng anfühlen. Durch Blocken und weiteres Tragen passt sich das Gestrick jedoch an, da sich die Wolle entspannt und sich der Handform anlegt.Die Anleitung arbeitet mit Abkürzungen und Techniken, die teilweise weniger bekannt sind. Für jede Technik gibt es ein Video zur Erklärung. Bitte schaue dir die Videos an, insbesondere zu den mittigen doppelten Zu und Abnahmen mit zwei Farben, auch wenn du bereits Erfahrung hast. Die Links findest du am Ende der Anleitung. First, choose one wool color as color A and another as color B. The gloves are knitted flat, either on a circular needle or with two straight needles. Start at the bottom of the wrist. First, increase stitches for the transition from the wrist to the hand, then increase further for the thumb. Then the knitting for the thumb is divided. This is knitted to completion and then sewn together. Next, the remaining fingers are knitted and decreased at the fingertips. Finally, the glove is sewn together from top to bottom. The instructions are repeated twice to knit the left and right gloves. When you first put them on, the gloves may feel a little tight. However, blocking and wearing them will allow the knit to adjust as the wool relaxes and conforms to the shape of your hands. The instructions use abbreviations and techniques that may be unfamiliar. There is a video explaining each technique. The double increases and decreases in the middle are particularly important here due to the two different colors. Please watch the videos here, even if you are already experienced. You can find all of this at the end of the instructions.